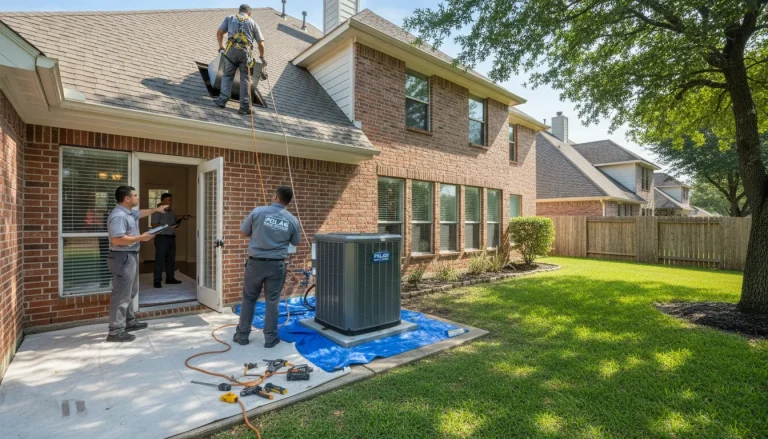
A residential HVAC installation in Houston typically takes one day for a standard replacement, involving equipment removal, new system placement, refrigerant line connections, electrical work, ductwork adjustments, system testing, and a final walkthrough. Knowing the process reduces anxiety and helps you evaluate your contractor's professionalism.
Having contractors in your home for a full day is disruptive, no way around it. But understanding what's actually happening during each phase of your hvac installation transforms the experience from stressful to manageable. VeriChill walks every Houston homeowner through the installation process before work begins, so there are no surprises.
Most homeowners have never watched an HVAC installation. They don't know whether a one-day job is normal, whether the sounds they're hearing are expected, or how to tell if the crew is doing quality work. This guide gives you the complete picture so you can plan your day, prepare your home, and feel confident about what's happening from start to finish.
Before Installation Day: Preparation and Planning
Proper preparation begins with your contractor's pre-installation visit, where they evaluate your home, confirm equipment specifications, and identify any needed modifications. You should clear access paths, secure pets, and plan for being without AC or heat during the installation.
What Your Contractor Should Do Before Arriving
Your contractor should have visited your home days or weeks before installation day. During that visit, they evaluated your cooling and heating needs, recommended specific equipment, and identified any modifications required. Things like electrical panel capacity, ductwork changes, equipment pad preparation, or thermostat wiring should all be resolved before the crew shows up. A contractor who shows up on installation day without a clear plan for your specific home is a red flag.
What You Should Do
Clear a path from your driveway to both the indoor equipment location (attic, closet, or garage) and the outdoor unit site. Move any furniture, storage items, or vehicles that might block access. If you have pets, plan to keep them in a secure room away from the work areas. The crew will need doors open at various points, and power tools, brazing equipment, and general construction noise will be part of the day.
- Plan for temperature disruption. Your home will be without heating or AC installation for most of the installation. In Houston's summer months, consider spending the day elsewhere. In winter, the disruption is more manageable.
- Clear 5 feet around the outdoor unit location. The crew needs workspace for equipment positioning, brazing, and electrical connections.
- Secure valuables near work areas. While professional crews protect your home, moving fragile items prevents accidents.
- Have your thermostat preferences ready. The crew will configure your new thermostat, and knowing your preferred settings speeds up the final walkthrough.
The Installation Process: Hour by Hour
A standard Houston HVAC replacement follows a predictable sequence: site preparation and protection, removal of the old system, installation of new components, refrigerant line work, electrical connections, system startup, testing, and a final homeowner walkthrough.
Hours 1-2: Site Prep and Old System Removal
The crew arrives, reviews the job plan, and begins protecting your home. They lay down floor covering along access paths, set up equipment staging areas, and prepare for the removal of the old system. The existing outdoor unit is disconnected, and refrigerant is recovered using EPA-compliant equipment. Indoor components (evaporator coil, air handler, or furnace) are disconnected and removed. This phase involves the most disruption as heavy equipment moves through your home.
Hours 3-5: New System Installation
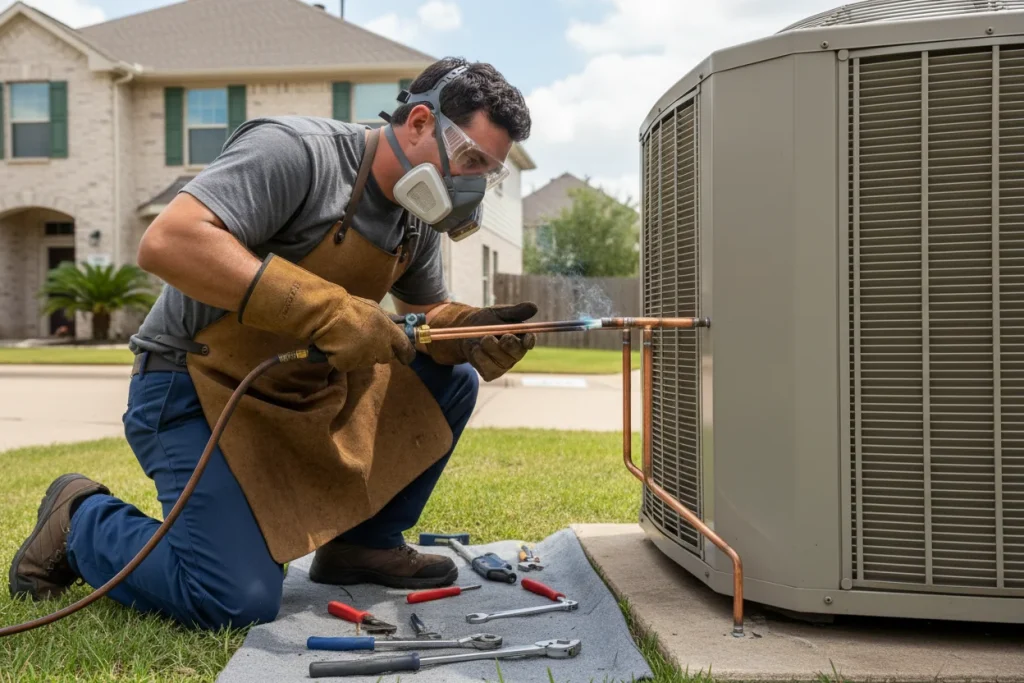
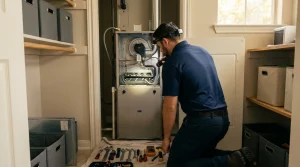
This is the core of the work. The new outdoor unit is positioned on a level composite pad with proper clearance for airflow and future maintenance. Indoor components are installed, including the evaporator coil, air handler or furnace, and condensate drain system. Refrigerant lines are connected using nitrogen-purged brazing, a process that prevents moisture and contaminants from entering the sealed system. Electrical connections are made to both indoor and outdoor units, and the disconnect box is wired.
Hours 6-7: Commissioning and Testing
With all components installed and connected, the crew evacuates the refrigerant lines using a vacuum pump to remove moisture and air. Refrigerant is charged to manufacturer specifications based on outdoor temperature and line length. The system is started and run through a complete cycle. Technicians measure temperature differential across the evaporator coil (typically 15-20°F), check airflow at registers, verify thermostat operation, and test all safety controls.
Hour 8: Final Walkthrough and Cleanup
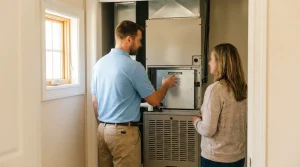
The crew cleans up all work areas, removes debris, and conducts a final walkthrough with you. They explain your new thermostat, demonstrate how the system operates, review the warranty coverage, and answer any questions. You should receive documentation of your system's specifications and settings. VeriChill handles manufacturer warranty registration within 90 days, so your 10-year parts and compressor coverage is secured without any action on your part.
| Installation Phase | Timeline | What's Happening | What You'll Notice |
| Site prep and removal | Hours 1-2 | Floor protection, old equipment removal | Heavy equipment moving, noise |
| New equipment installation | Hours 3-5 | Outdoor/indoor units, lines, electrical | Brazing sounds, drilling, and construction |
| Commissioning | Hours 6-7 | Vacuum, refrigerant charge, testing | Vacuum pump running, system startup |
| Walkthrough and cleanup | Hour 8 | Explanation, documentation, and cleanup | Quiet, organized, educational |
How to Evaluate Installation Quality
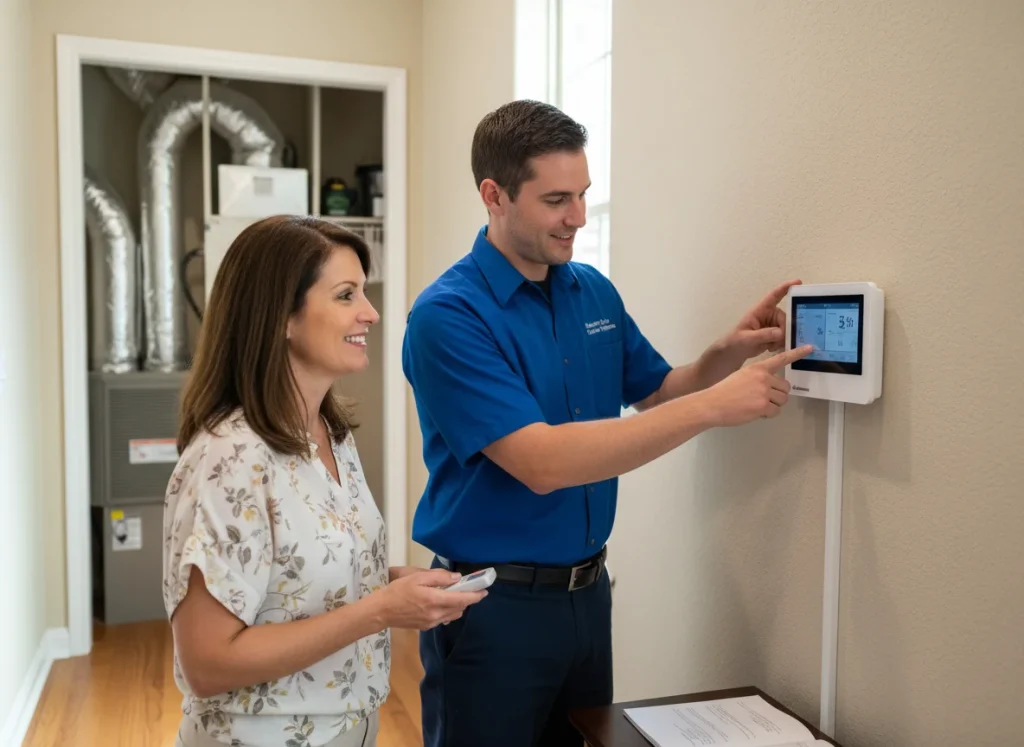
Quality HVAC installation shows in the details: level outdoor unit placement, properly supported refrigerant lines, sealed ductwork connections, clean brazing joints, correct refrigerant charge, and a thorough commissioning process with documented performance data.
You don't need to be an HVAC technician to recognize quality work. Here are the visible signs that separate professional installation from rushed or careless work.
What Good Installation Looks Like
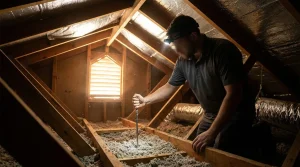
The outdoor unit sits perfectly level on a composite pad with adequate clearance from walls and landscaping. Refrigerant lines are properly insulated and supported with hangers, not draped loosely across the ground. Electrical connections are housed in weatherproof enclosures. Inside, the evaporator coil sits properly on the furnace or air handler with sealed connections. The condensate drain line runs downhill to a proper drain point. Ductwork connections are sealed with mastic or approved tape, not just duct tape (which fails within a year in Houston's attic heat).
Red Flags to Watch For
A crew that finishes a full installation in under five hours is almost certainly cutting corners. Refrigerant lines left uninsulated, condensate drains without safety overflow switches, missing disconnect boxes, and loose ductwork connections are all signs of substandard work. The crew should also run the system long enough to verify performance, not just confirm it "turns on." According to ACCA quality installation standards, proper commissioning includes measuring airflow, verifying refrigerant charge, and confirming temperature differentials.
- Level outdoor unit: Even slight tilting can affect the distribution of compressor oil and its longevity.
- Insulated refrigerant lines: Exposed lines lose efficiency and can condensate, causing moisture problems.
- Sealed duct connections: Mastic or UL-listed foil tape at every connection prevents air loss.
- Clean work area: Professional crews leave your home cleaner than they found it.
- Documentation: You should receive system specifications, warranty information, and thermostat operating instructions.
Key Takeaways
- Standard Houston HVAC installation takes 6 to 10 hours for a straightforward replacement, completed in a single day by a qualified crew.
- Preparation matters: clear access paths, secure pets, and plan for temperature disruption during the installation, especially in Houston's summer months.
- Quality shows in the details. Level placement, insulated lines, sealed connections, and thorough commissioning separate professional work from shortcuts.
- The final walkthrough is your opportunity to learn your system and ask every question before the crew leaves. Don't rush it.
- Warranty registration should be handled by your contractor, not left to you. VeriChill registers within 90 days to protect your 10-year coverage.
- A crew that finishes too quickly is a concern, not a benefit. Proper installation takes time to do right.
Frequently Asked Questions
How long does HVAC installation take in Houston?
A standard replacement takes 6 to 10 hours, typically completed in one day. Complex projects with ductwork modifications or system conversions may extend to two days.
Do I need to be home during HVAC installation?
It's recommended. You'll want to be available for questions, the final walkthrough, and thermostat setup. If you can't stay the entire day, plan to be home for the last hour.
Will installation damage my home?
Professional crews protect floors, walls, and furniture before beginning work. Some minor touch-up to drywall around attic access or equipment areas may be needed, but significant damage is not normal.
How do I prepare my home for HVAC installation?
Clear paths to indoor and outdoor equipment locations, move fragile items, secure pets, and plan to be without heating or cooling for most of the day.
What if the crew finds unexpected problems during installation?
A quality contractor identifies potential issues during the pre-installation assessment, not on installation day. If something unexpected does arise, they should discuss it with you before proceeding and adjust the scope if needed.
How will I know if the installation was done correctly?
Look for level outdoor unit placement, insulated refrigerant lines, sealed duct connections, and a thorough commissioning process. You should receive documentation of system performance measurements.
When will my new HVAC system reach full performance?
Your system should cool or heat effectively within minutes of startup. Run it normally for 24 to 48 hours and note any issues. Contact your contractor with any concerns during this period.
Does VeriChill handle permits for HVAC installation?
Yes. VeriChill manages all required permits and inspections for heating installation service and AC installation projects in the Greater Houston area as part of our standard process.
What warranty does a new HVAC installation include?
VeriChill installations include a 10-year parts and compressor warranty. We handle manufacturer registration within 90 days to ensure full coverage.
Can I install HVAC equipment myself?
HVAC installation requires refrigerant handling certification, electrical work, gas connections (for furnaces), permit compliance, and specialized tools. Texas requires a licensed HVAC company for installations. DIY installation also voids manufacturer warranties.
Conclusion
Understanding the residential HVAC installation process takes the mystery out of one of your home's biggest investments. From pre-installation preparation through the final thermostat walkthrough, each phase serves a specific purpose in ensuring your new system performs reliably for years. In Houston's demanding climate, installation quality determines whether your system delivers the comfort and efficiency you're paying for. VeriChill's installation process is designed for thoroughness and transparency. Schedule your free evaluation, and we'll walk you through exactly what your installation will look like, step by step.